|
At the beginning of this class, I'd had a little experience with photography, but never anything more than just playing around with a camera in the auto mode. I didn't know the different elements of photography, and I didn't know much about the cameras themselves. Throughout this class, I have learned not only what goes into taking a good photo, but also how to use cameras, photoshop, and look at things like a photographer would. When we took our first photos in class, I didn't really know much about what I was doing. I just walked around, tried to find something that looked interesting, and then try and take a picture of it, hoping for the best results. Later on in this class, however, I spent lots of time setting up the scenes I was planning to photograph, and I spent time making sure my camera was set up properly. All of this was done before I had even taken the first photo, and when it was time to take photos, everything went smoothly because I had spent adequate time setting everything up. Some of my best photos: 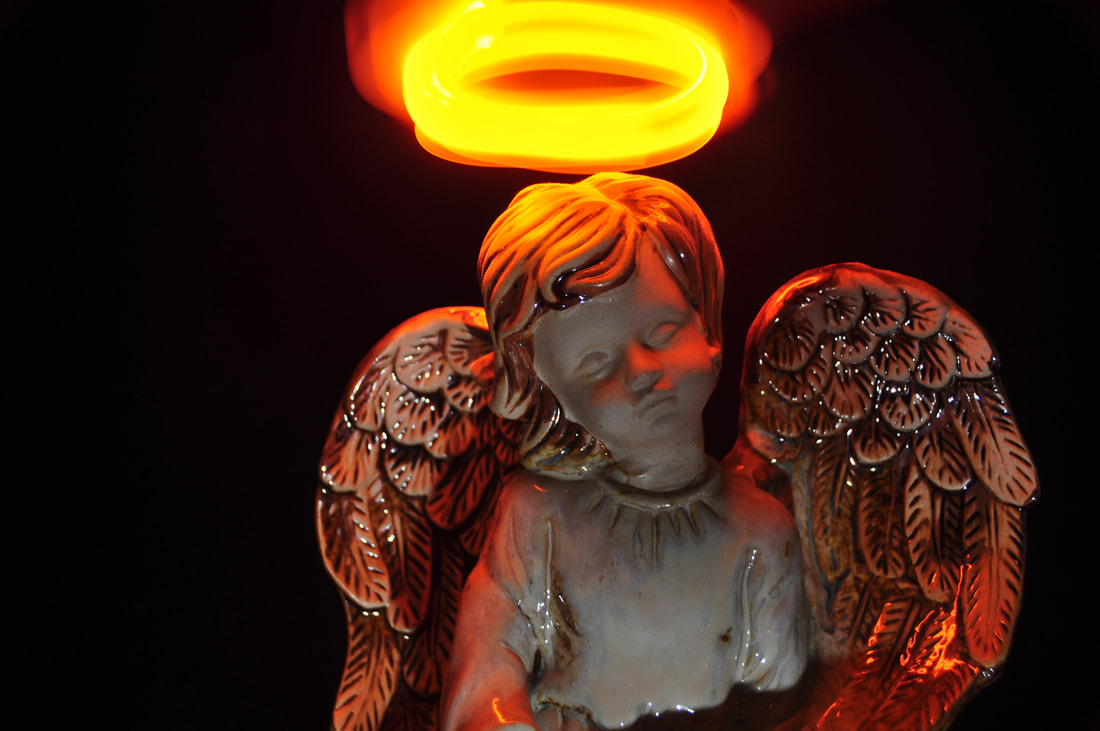  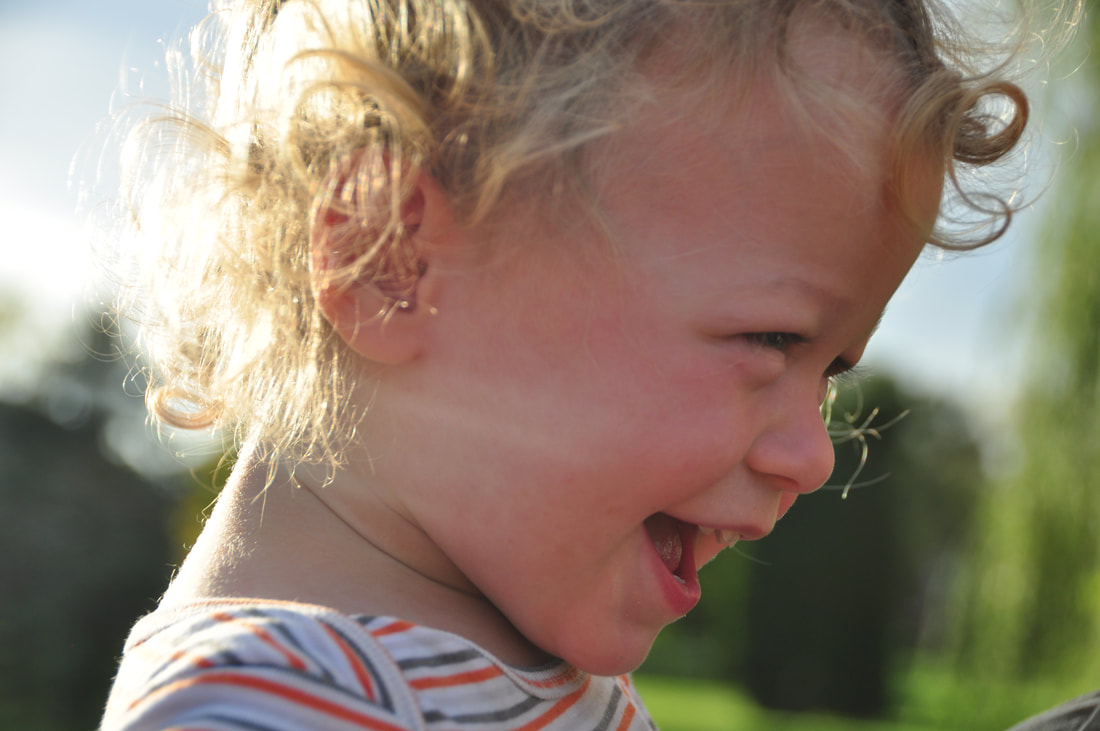 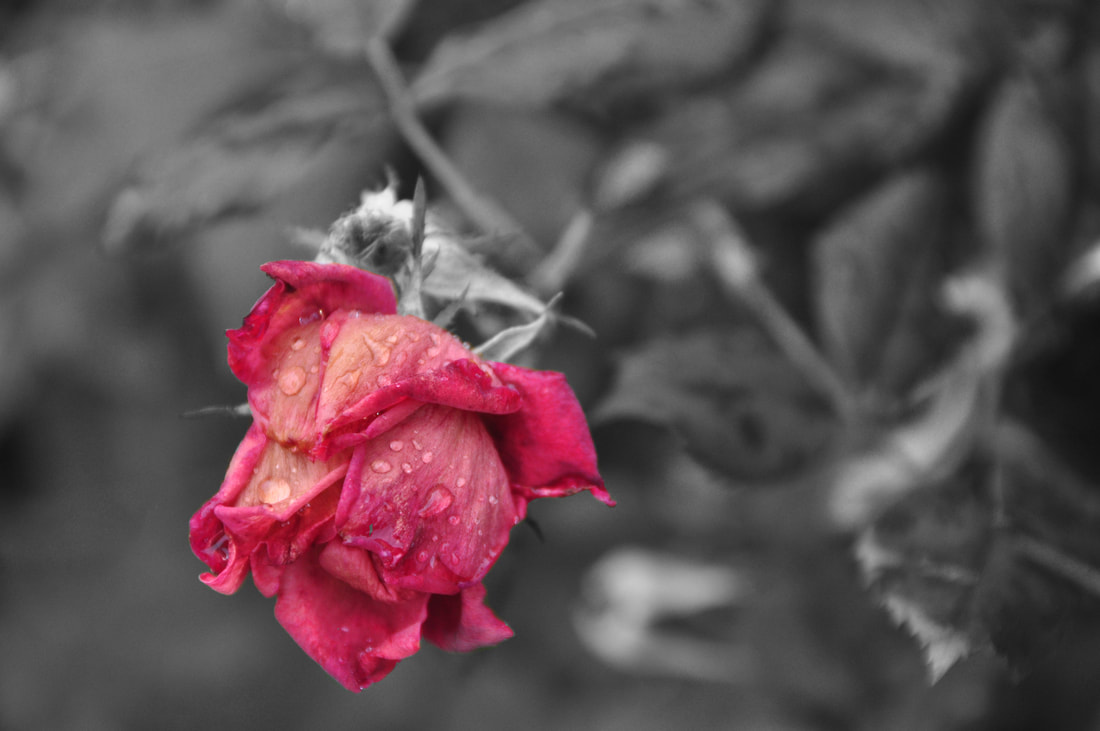 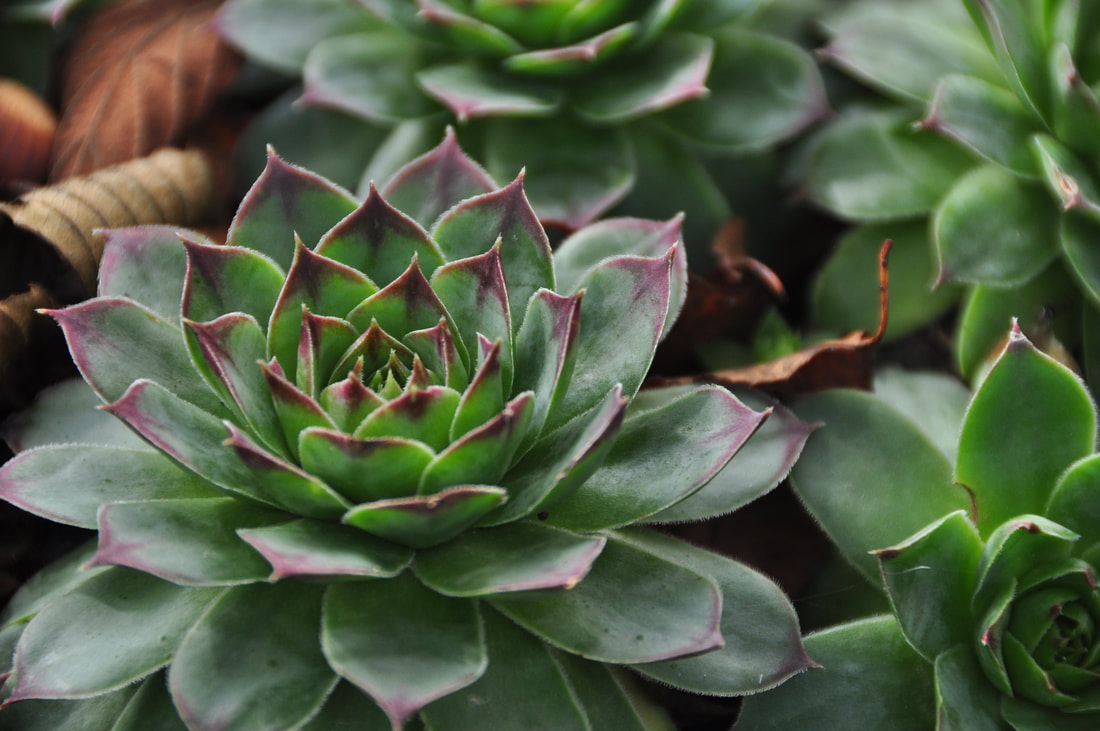 Some of my not-so-strong photos: 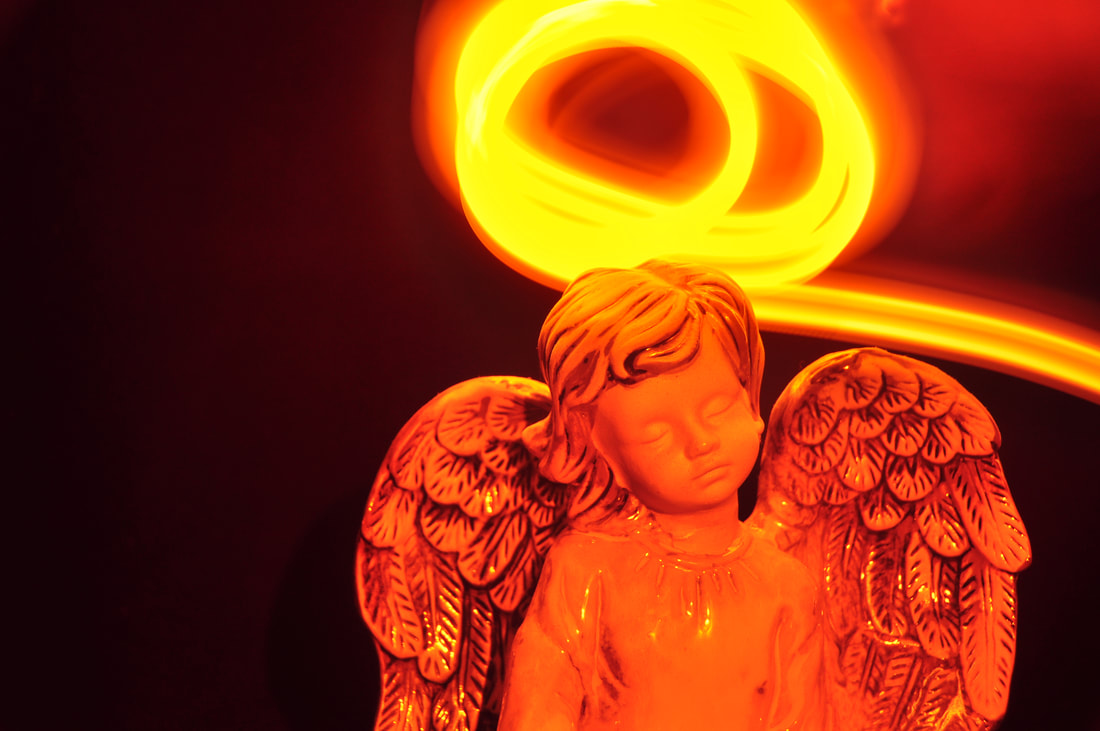 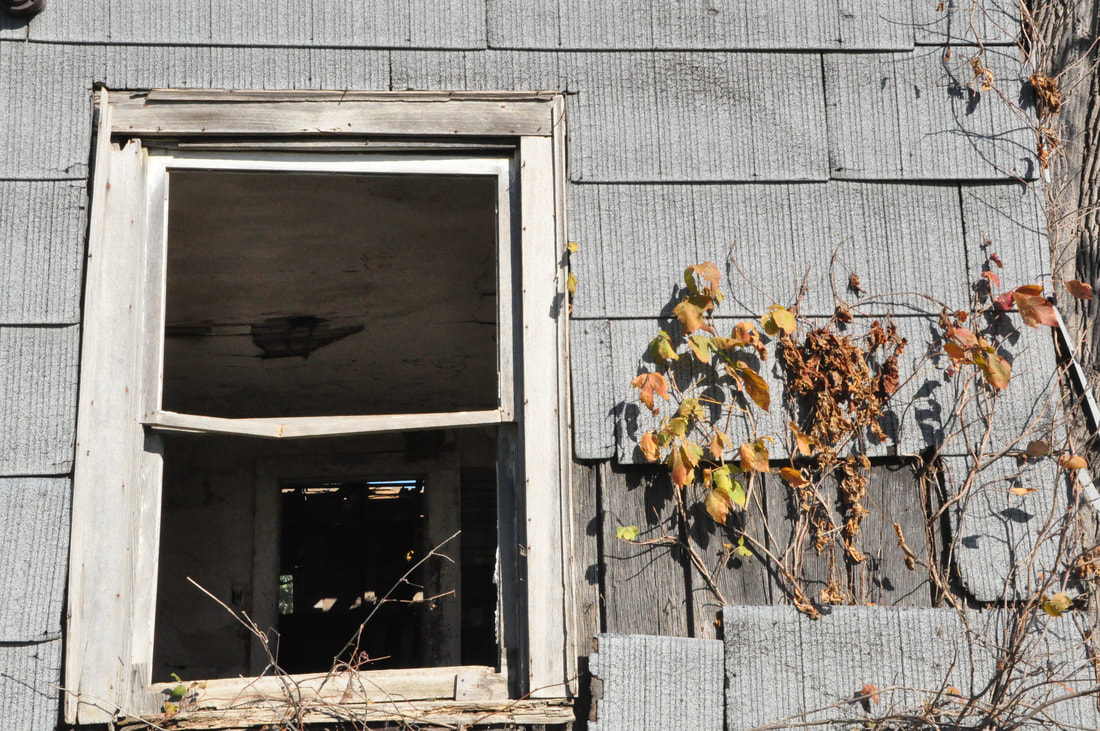 
0 Comments
For this assignment, my goal was to edit multiple images together to visually define a given word. 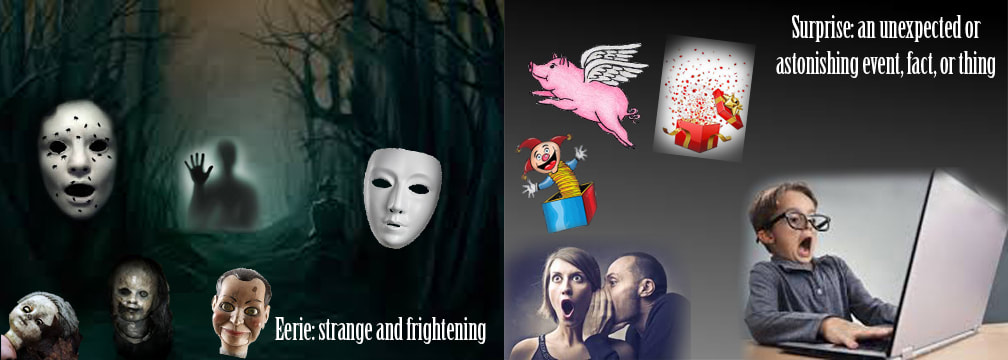 To do this, I worked with layer masks, different images, and adding both visual dictionaries onto the same image.
For this assignment, I edited multiple pictures together to create visual puns.  In this assignment, I worked with editing multiple picture on multiple layers. I also worked with adding my three puns onto a blank image to put all three puns in the same place.
For this assignment, my goal was to capture pictures of nature and then put them in black and white before adding color back in to certain aspects of the photos that I wanted to highlight. Unedited photo that I turned in: 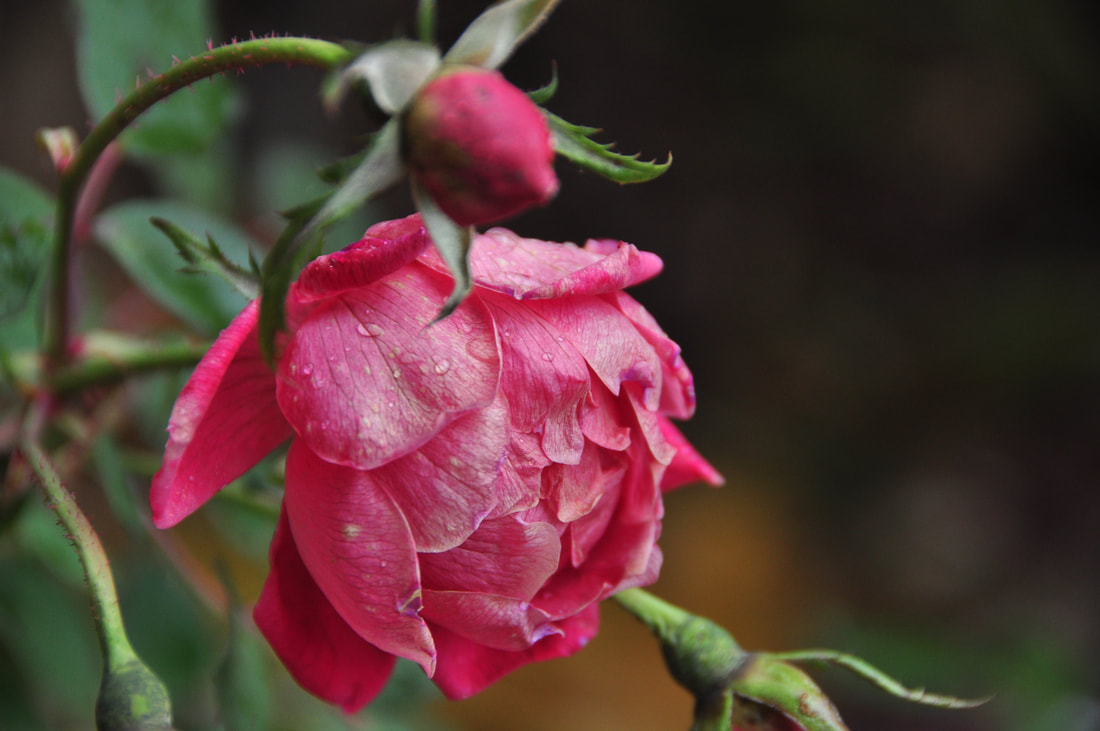 Photo I turned in: 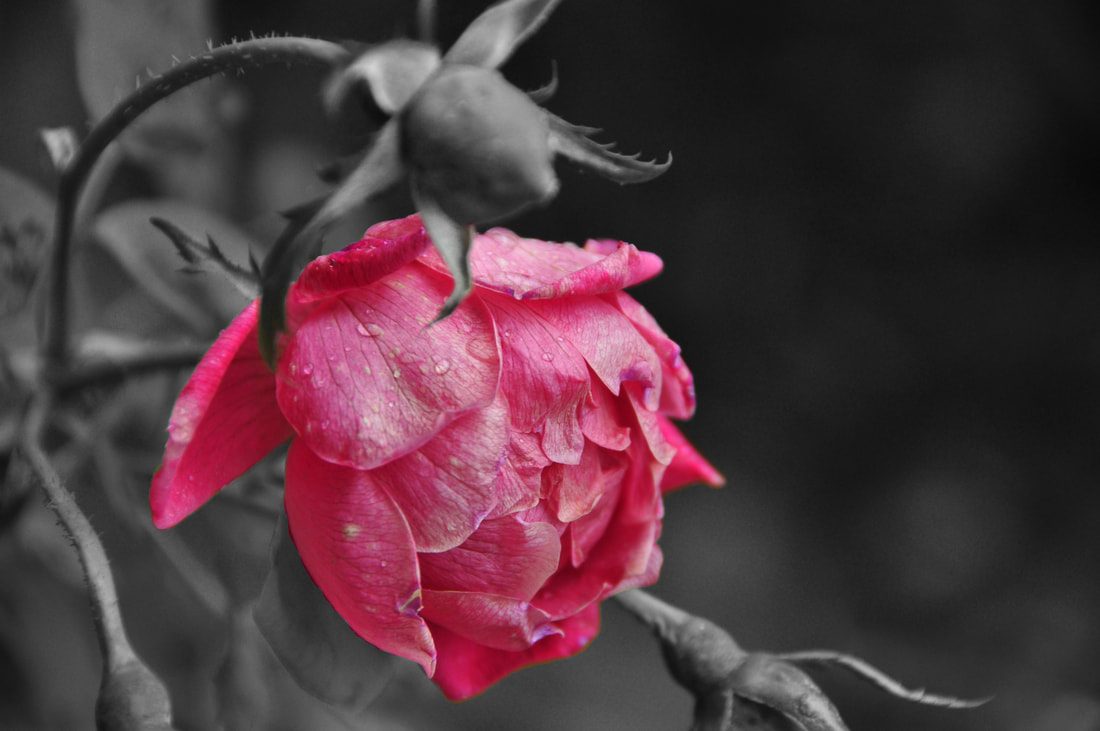 ISO: 400 Aperture: f5.3 Shutter Speed: 1/320  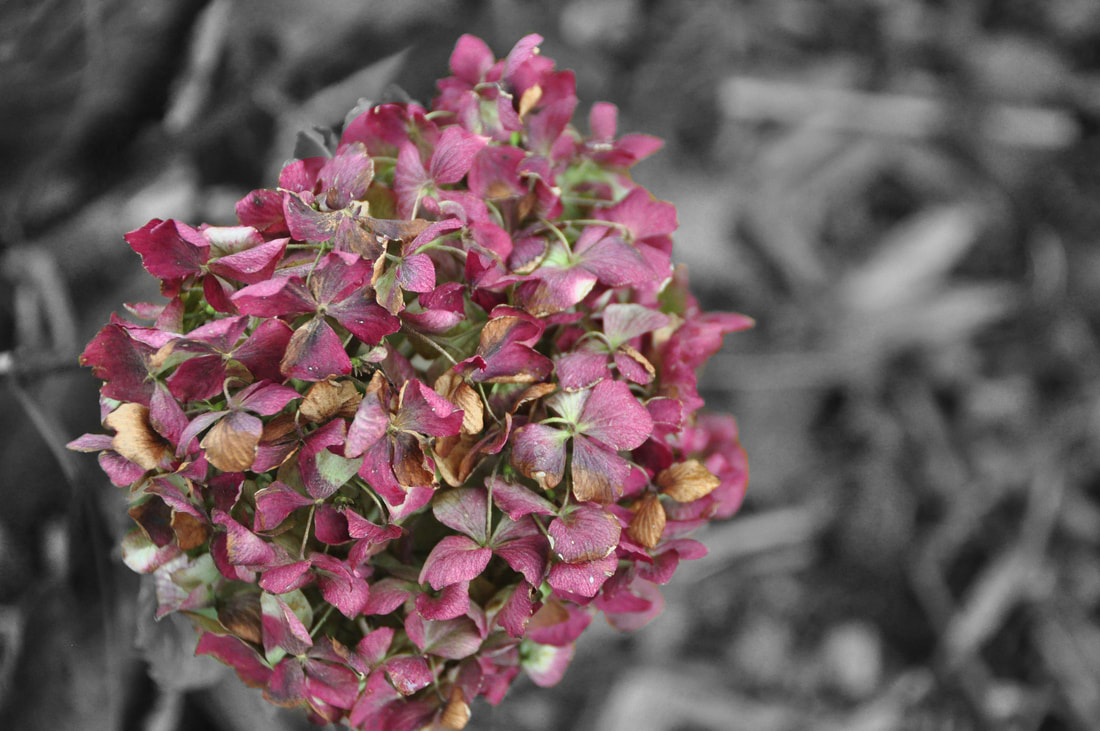 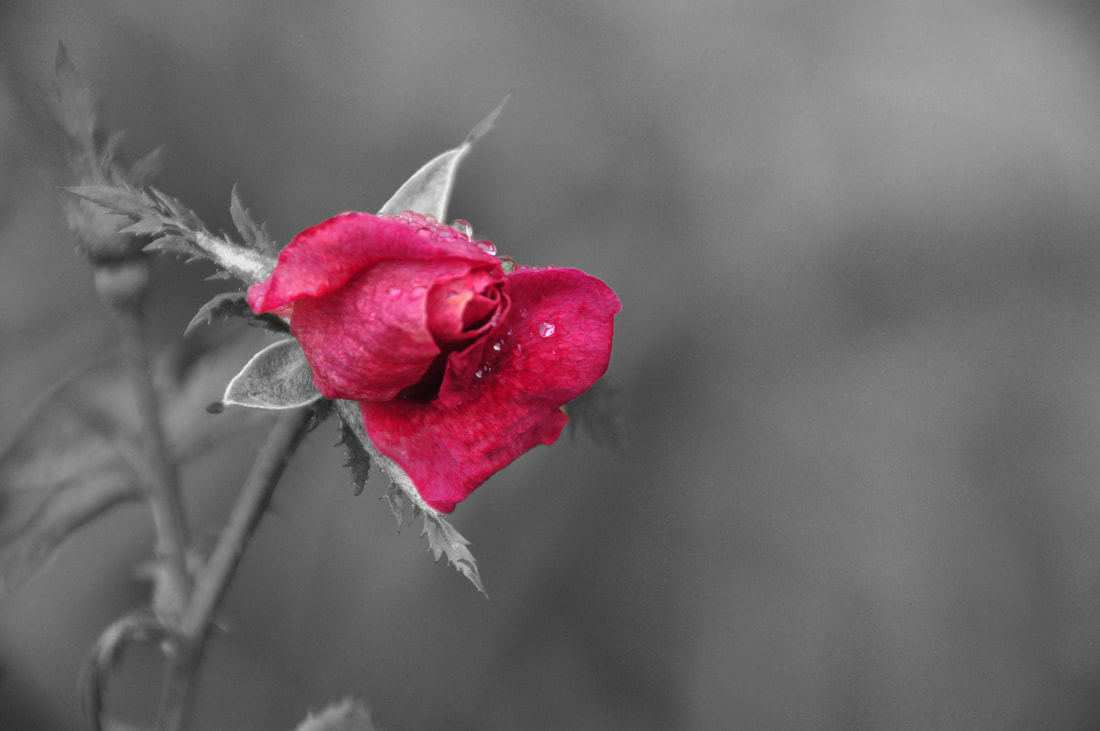 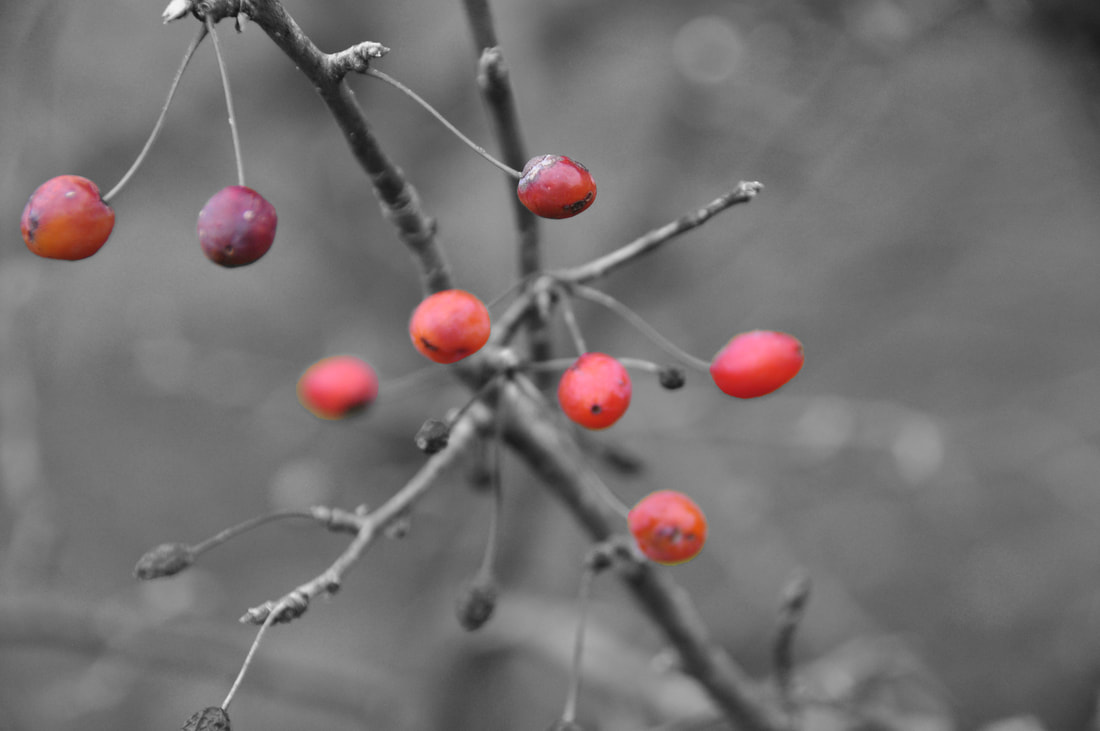  From this assignment, I learned that black and white photos can be difficult to take, because when you edit them and put them in black and white, different parts of the photo can be highlighted when they are in black and white and not in color. To combat this, I added color back in to the parts of the photos I wanted to highlight.
For this assignment, my goal was to create multiple of the same person in one frame. 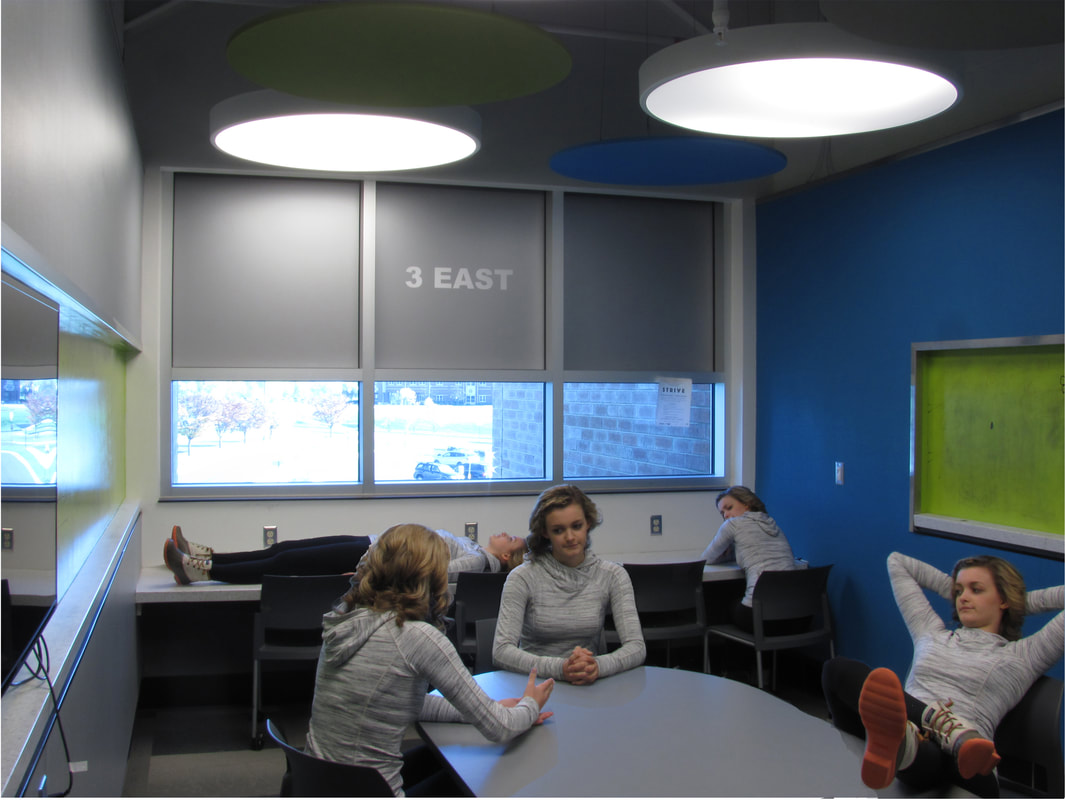 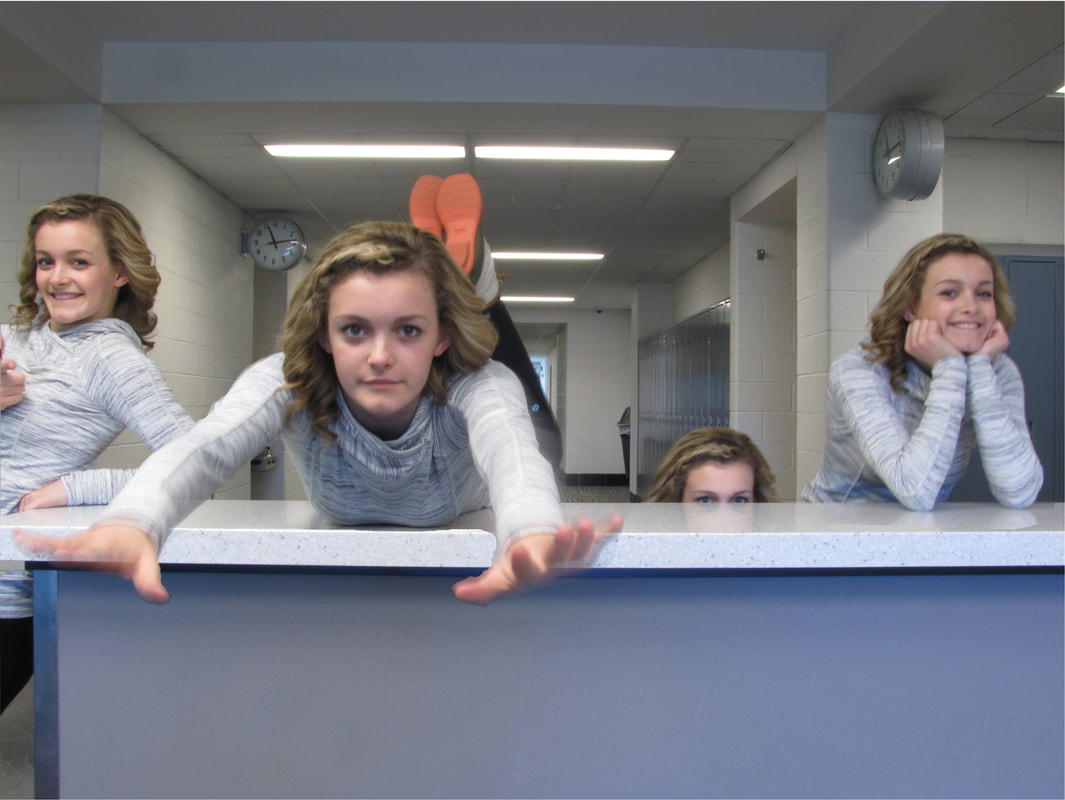 To do this, I had to work with layer masks and loading images into a stack. To actually take the photos, I used the camera in manual mode with a tripod so the background would be consistent in each shot.
For this assignment, my goal was to use different lights and subjects, combined with a long shutter speed, in order to create trails of light in my photos. Photo I turned in: (no edits)  ISO: 200 Aperture: f4.5 Shutter Speed: 20.0 seconds Other photos from this assignment: 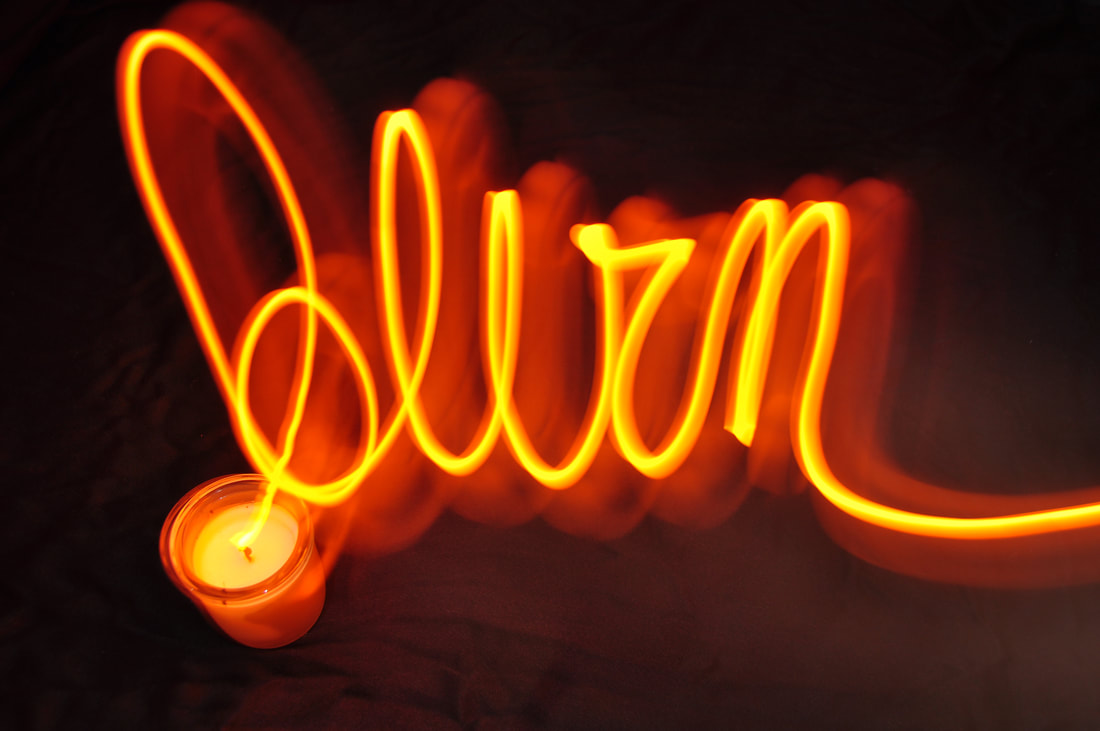 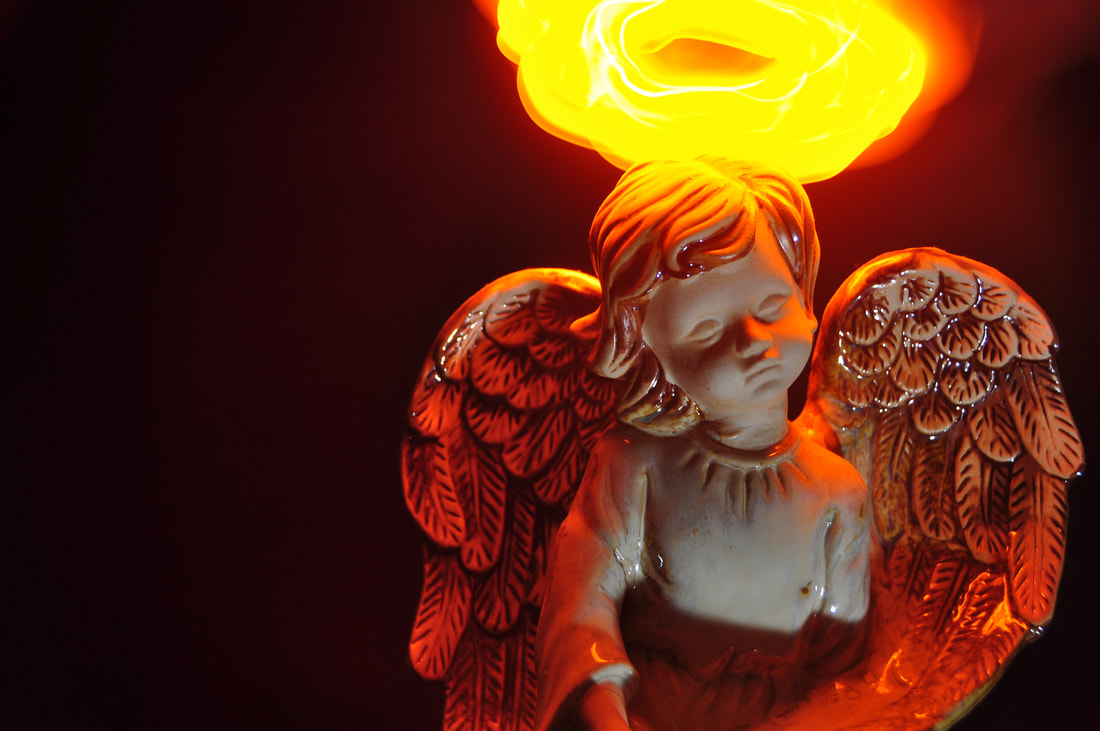 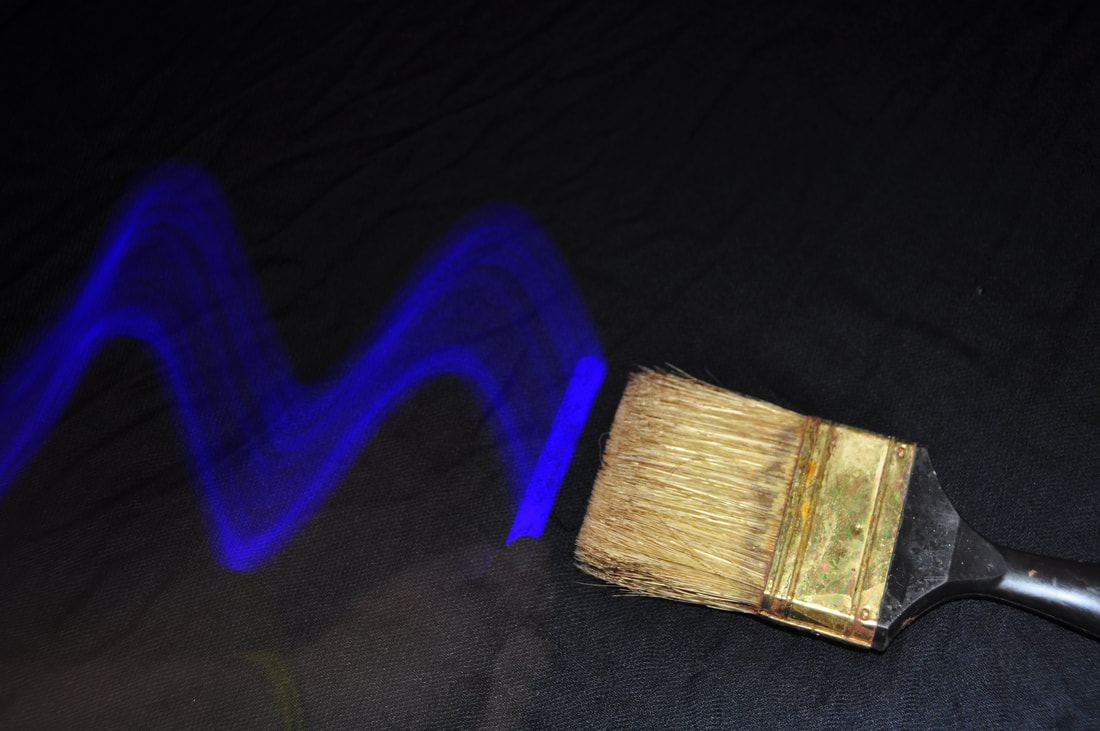  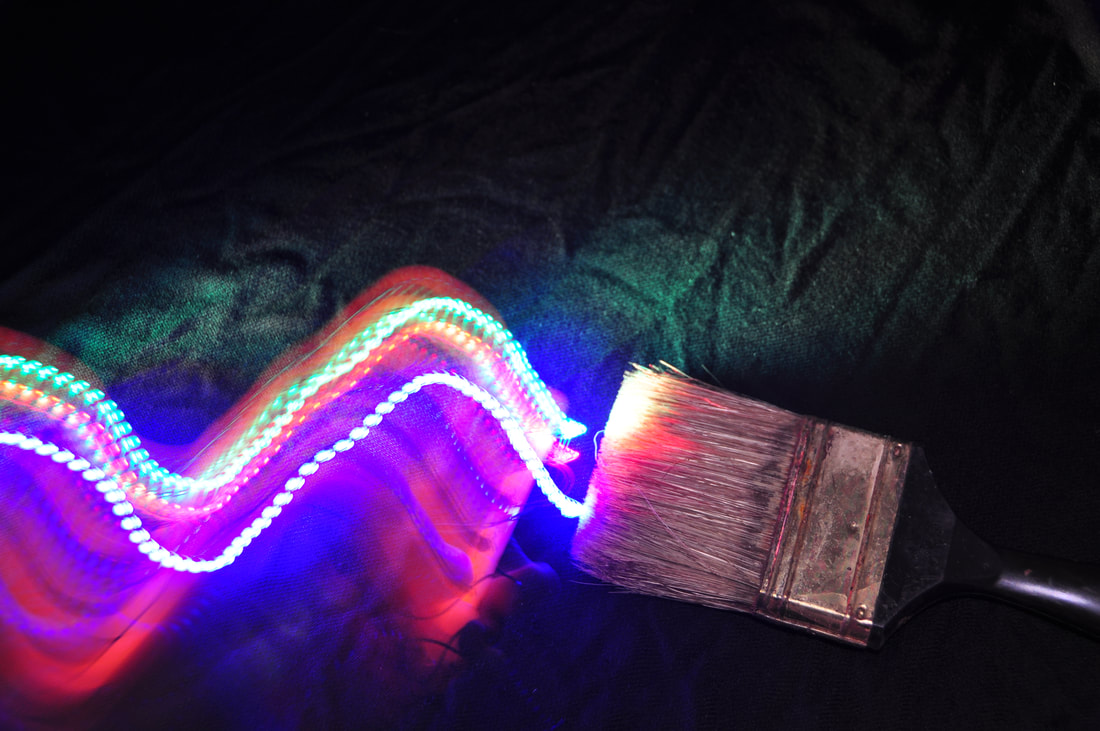 From this assignment, I learned how to use very slow shutter speeds (around 20-30 seconds) and different lights to create trails of light. This assignment took a while to do, as each photo took around 30 seconds to take. It also took a while to set up these photos, as I had to cover the windows to minimize light, use a tripod, and create a black back drop.
For this assignment, my goal was to capture portrait shots of people in both a studio and non-studio setting. I used a wide aperture and turned my camera to the side to capture the photos in the portrait mode. 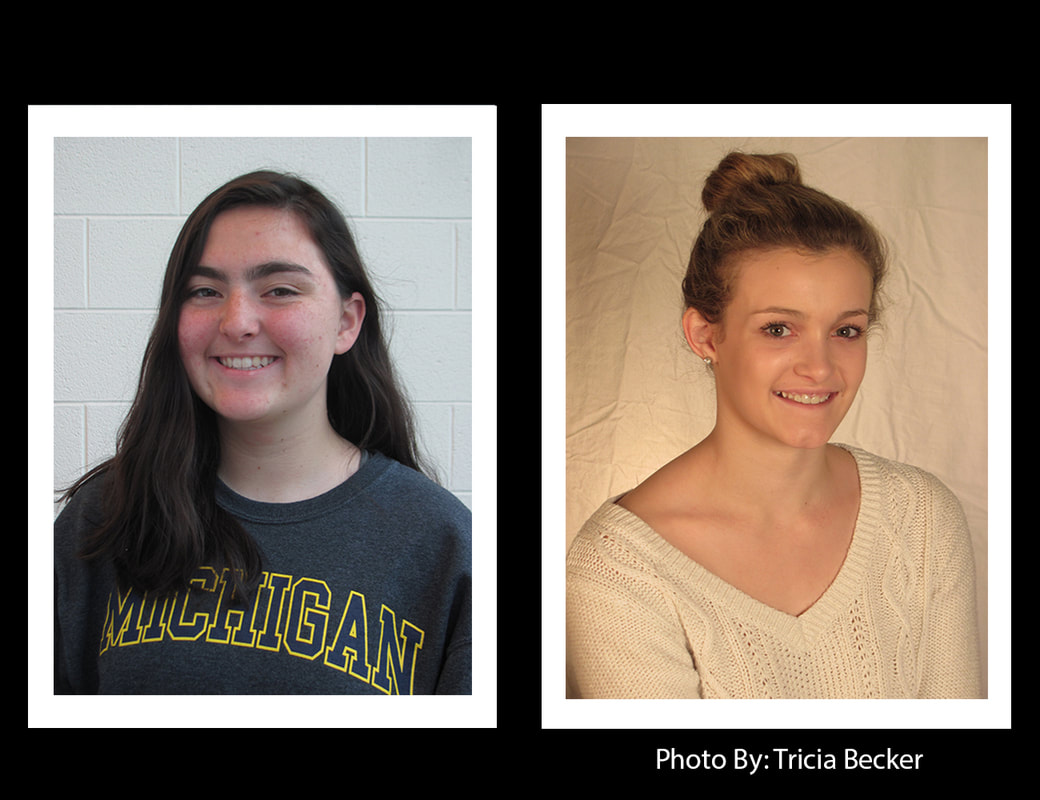  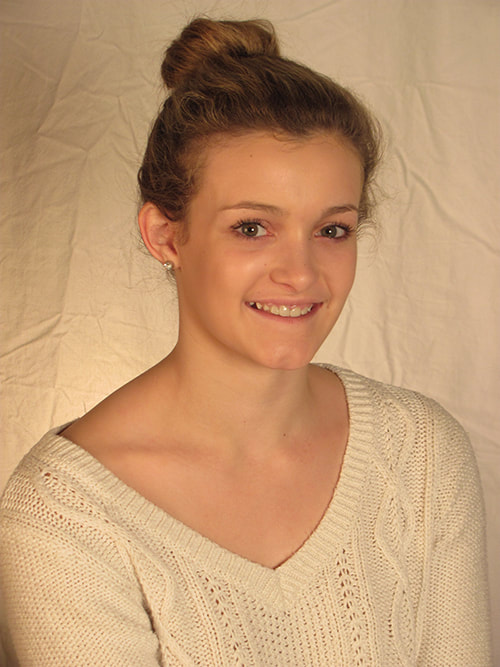 For the final product, I framed each picture in white, then put the framed images on top of a black background and added my name. From this assignment, I worked with layers, framing images, and taking portrait photography in a studio setting with a key light, fill light, and hair light. I also took non-studio portraits using a bounce card to eliminate shadows on the subject's face.
For this assignment, my goal was to capture the essence of a 100 year old house. Original photo: 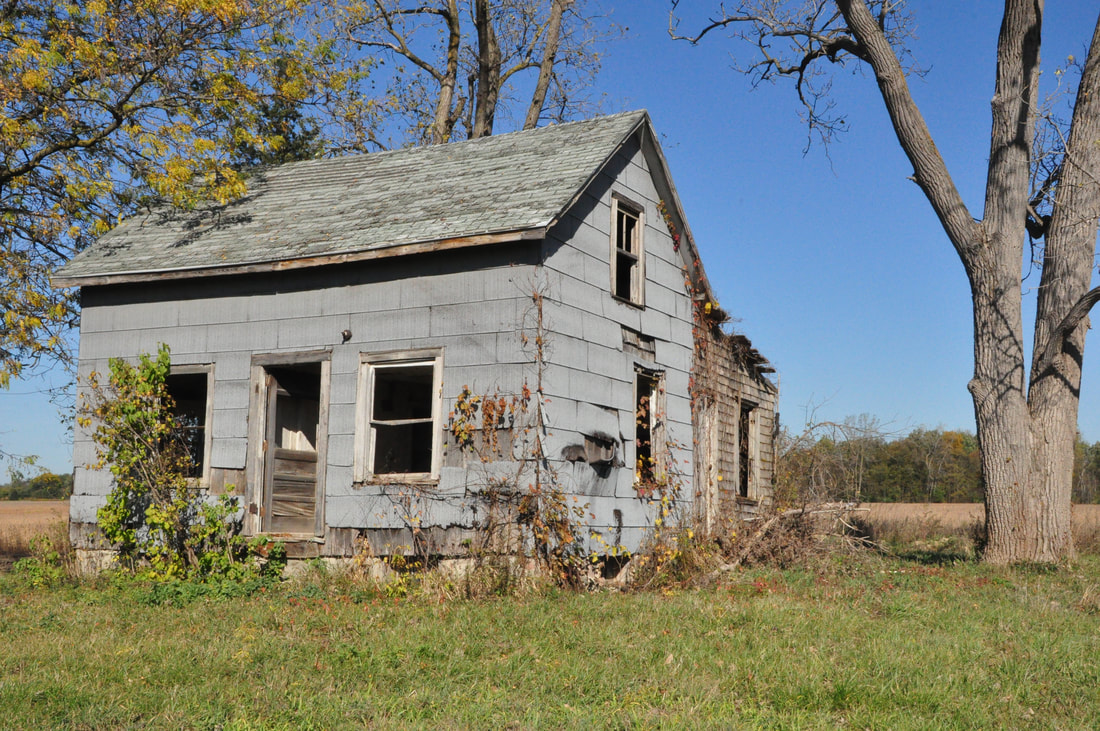 Edited photo I turned in:  Exposure triangle for above photo: ISO: 2000 Aperture: f22 Shutter speed: 1/800 Other photos from this assignment: 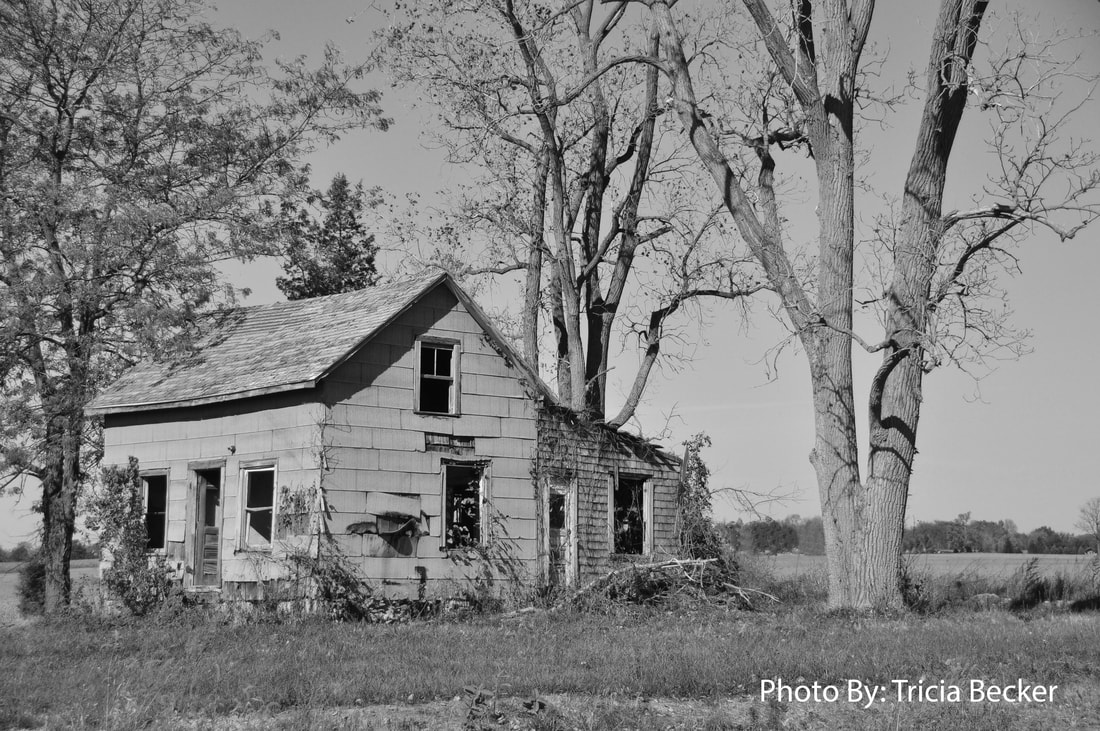 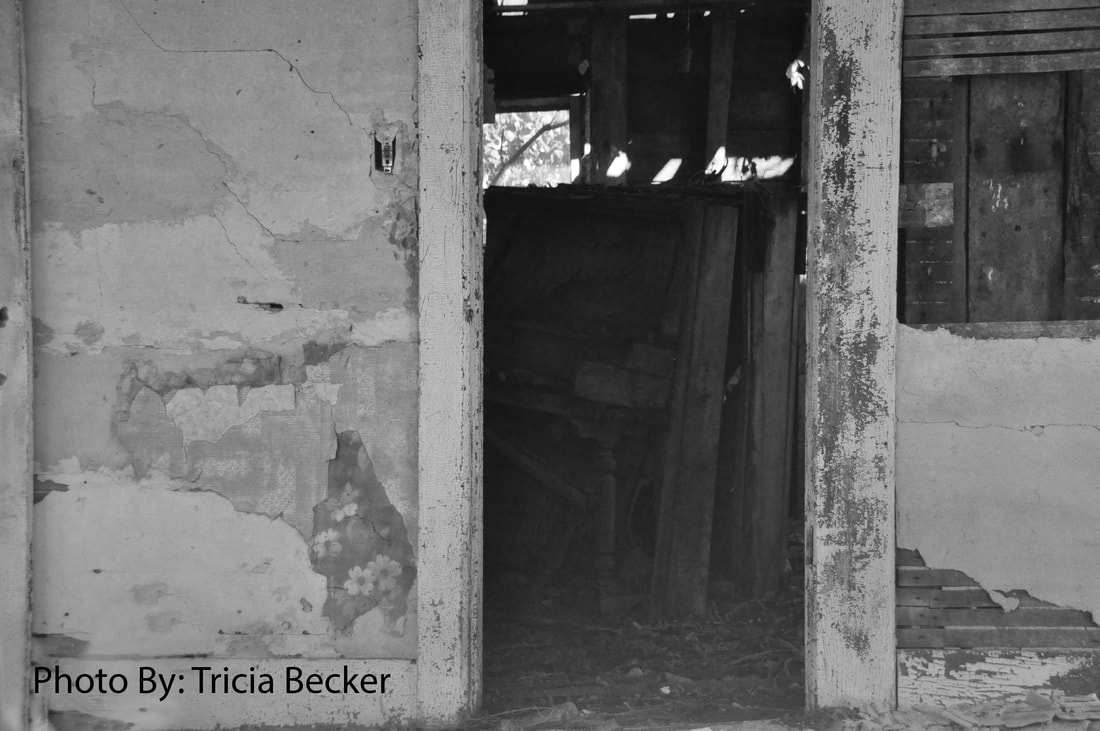 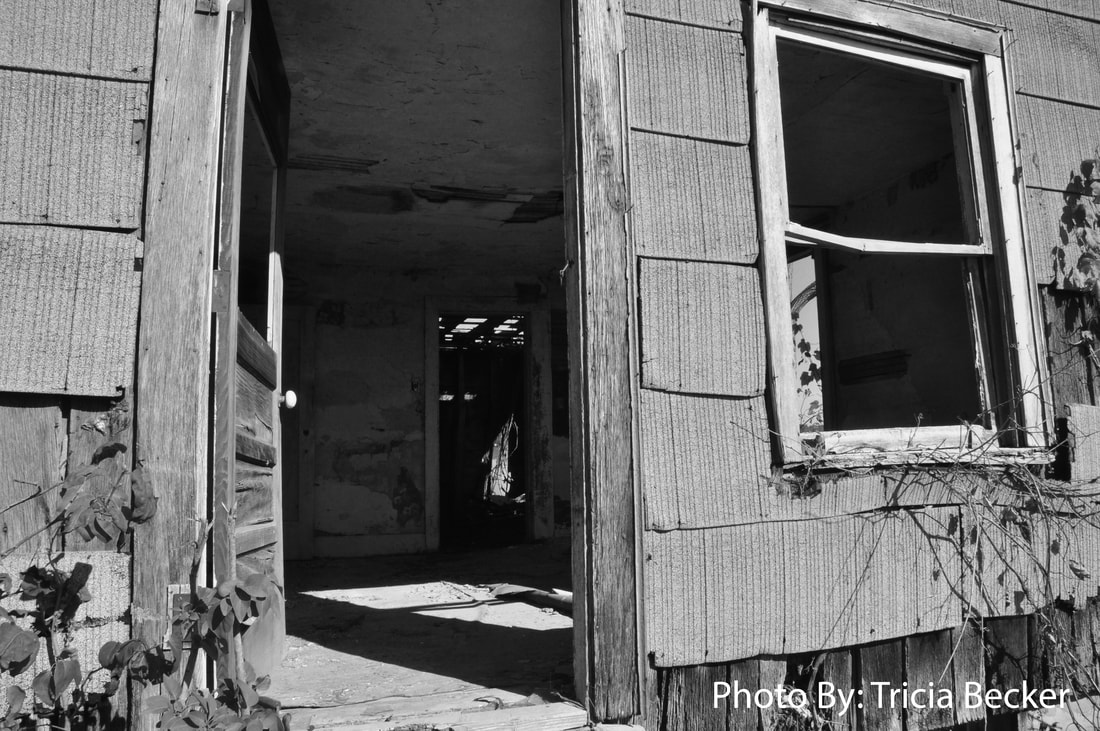 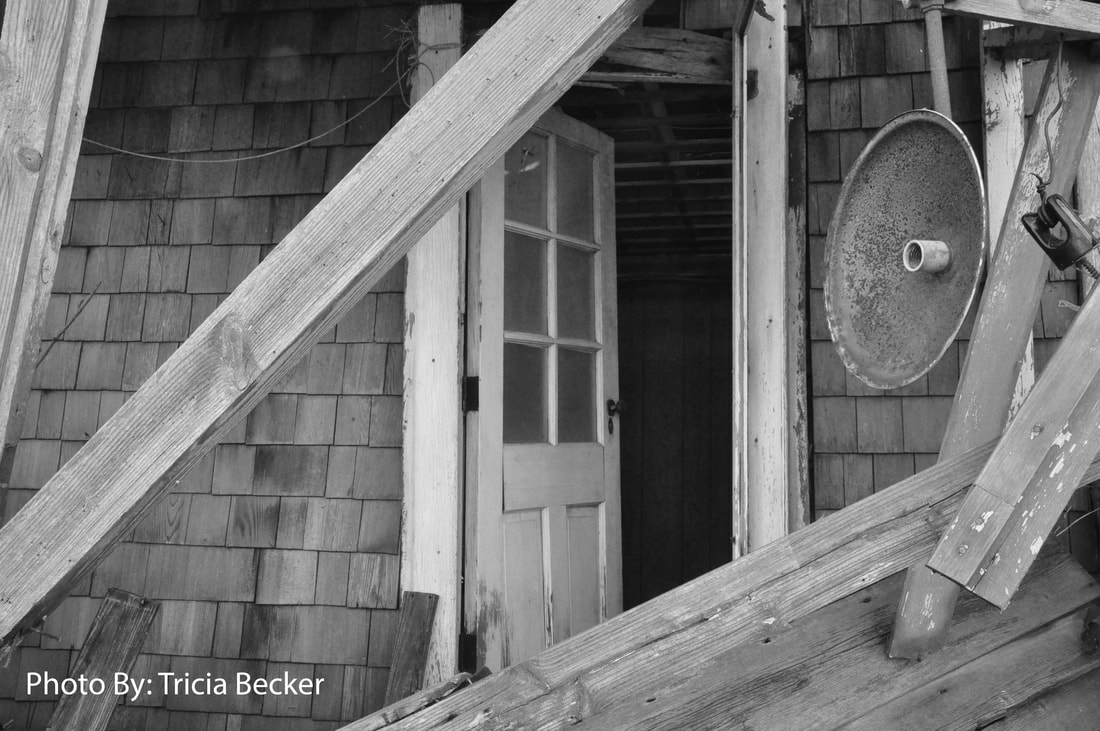 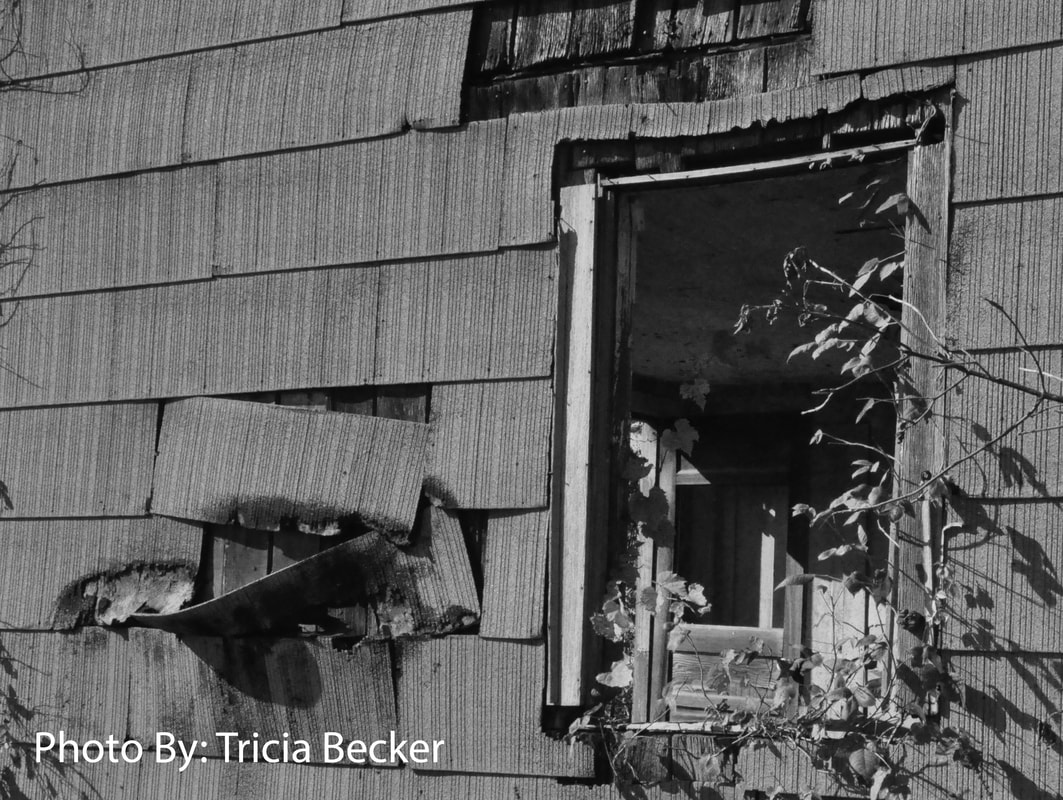 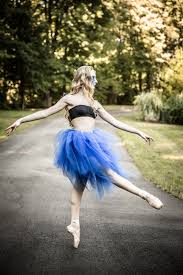 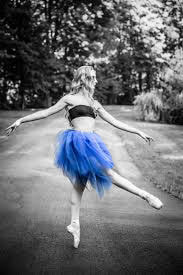 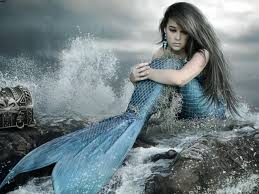 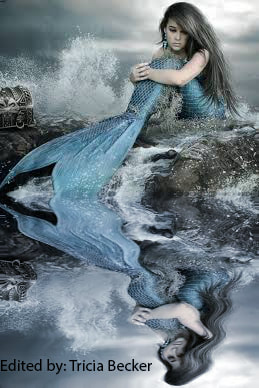 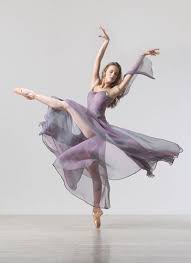 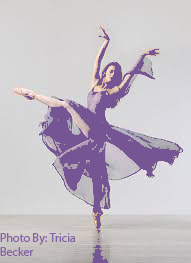 Tutorial for the above photo found at https://www.photoshoptutorials.ws/photoshop-tutorials/photo-manipulation/urban-ink-photo-effect/ 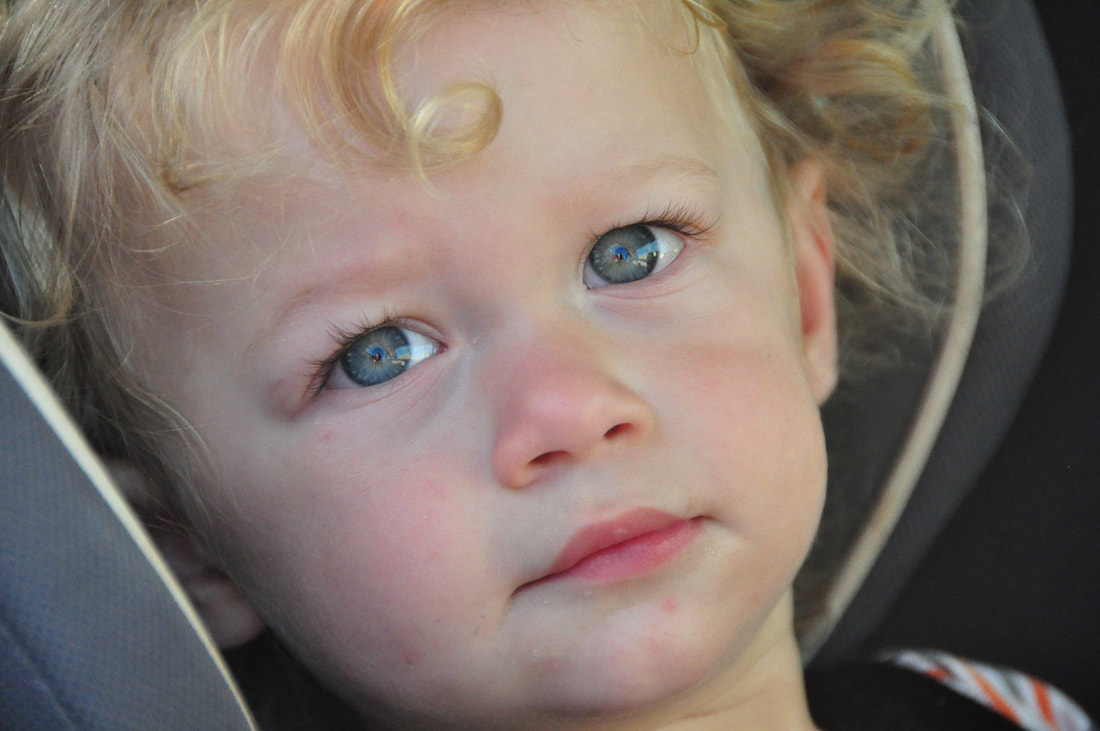  Tutorial for above photo found at https://www.photoshopessentials.com/photo-effects/rainbow-colored-eyes-effect-with-photoshop/
For this assignment, my goal was to take a picture of the school and edit in characters and other elements from the movie Lord of the Rings. To do this, I had to find pictures of the characters I wanted, use different layers, and create shadows. Original photo: 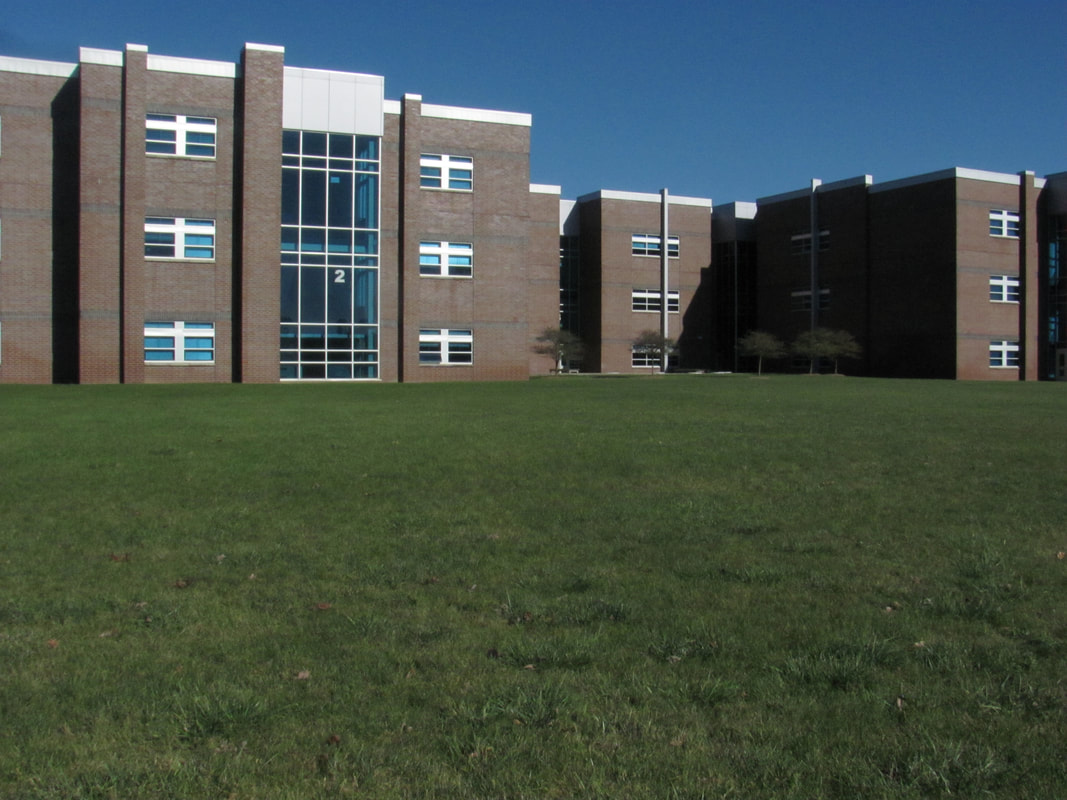 Edited photo: 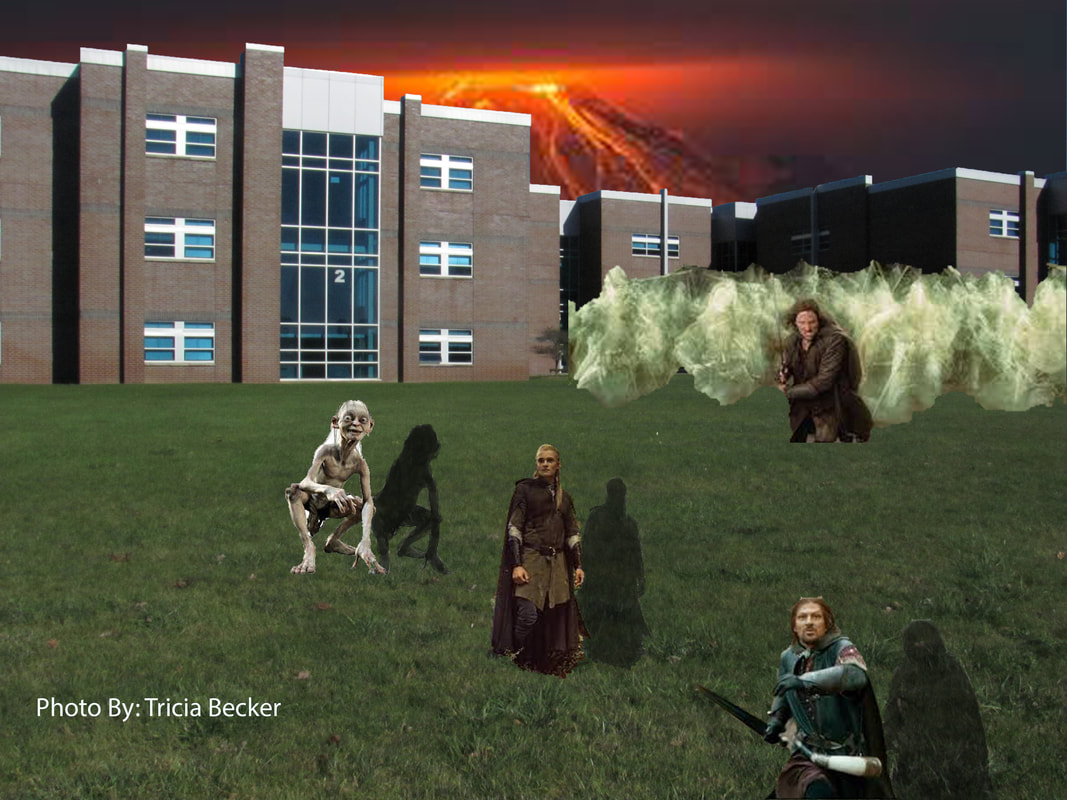 |
